3D Printer – 3D Printing a Topographic Map of New Hampshire (Final Map Pending)
3D Printer – 3D Printing a Topographic Map of New Hampshire (Actual Map Pending!)
My mapping challenge for today is to make a map using a new tool. I decided that 3D printing would be perfect for today’s challenge. Recently, I got into 3D printing as a hobby and have printed a handful of buildings and topographic maps. Below are some examples of recent successful prints.
If you’re interested, I sell a few of these on etsy, too.
For today’s challenge, I decided to expand my portfolio of 3D prints and landed on making a 3D printed topographic map of New Hampshire. The Granite State is home to the White Mountains and has varied, rugged topography that I think would look neat on a 3D printed map. I am looking forward to seeing how this project will shape out. I outline my workflow below.
Approach
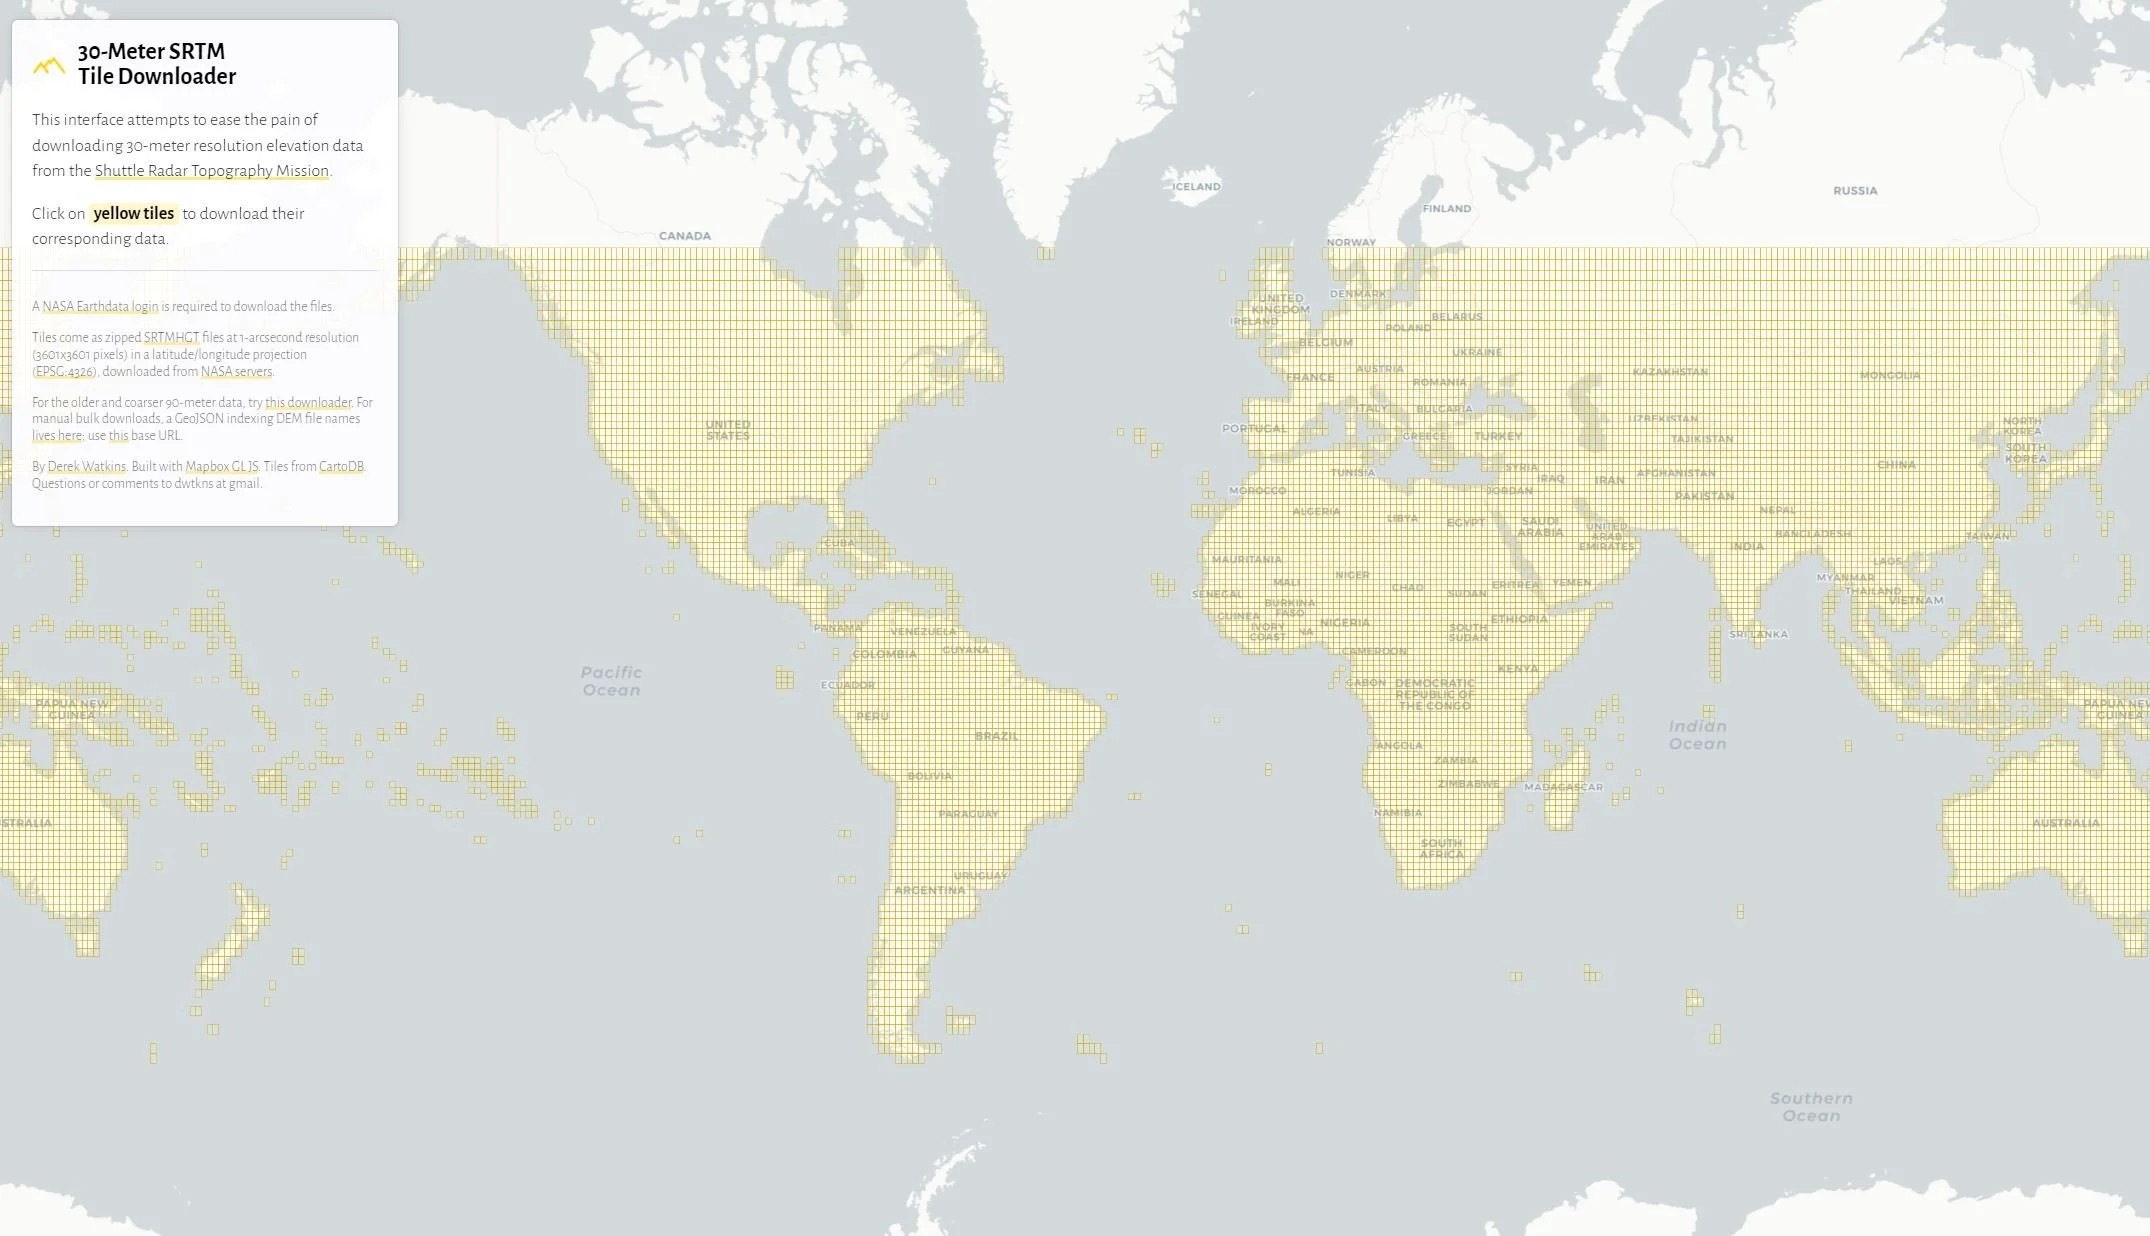
First, I needed to get my data. to start making my 3D printed map, I needed to pull in elevation data. I like to use a free Digital Elevation Model (DEM) dataset that provides near global coverage. The data comes from NASA’s Shuttle Radar Topography Mission (STRM), which provides 30-meter resolution DEMs of most of the world, for free. I recently discovered an amazing website that makes downloading STRM DEM data incredibly easy, though you will need to set up a free NASA Earthdata account to log in if you don’t already have one. In the screenshot below, each square represents a single DEM file.
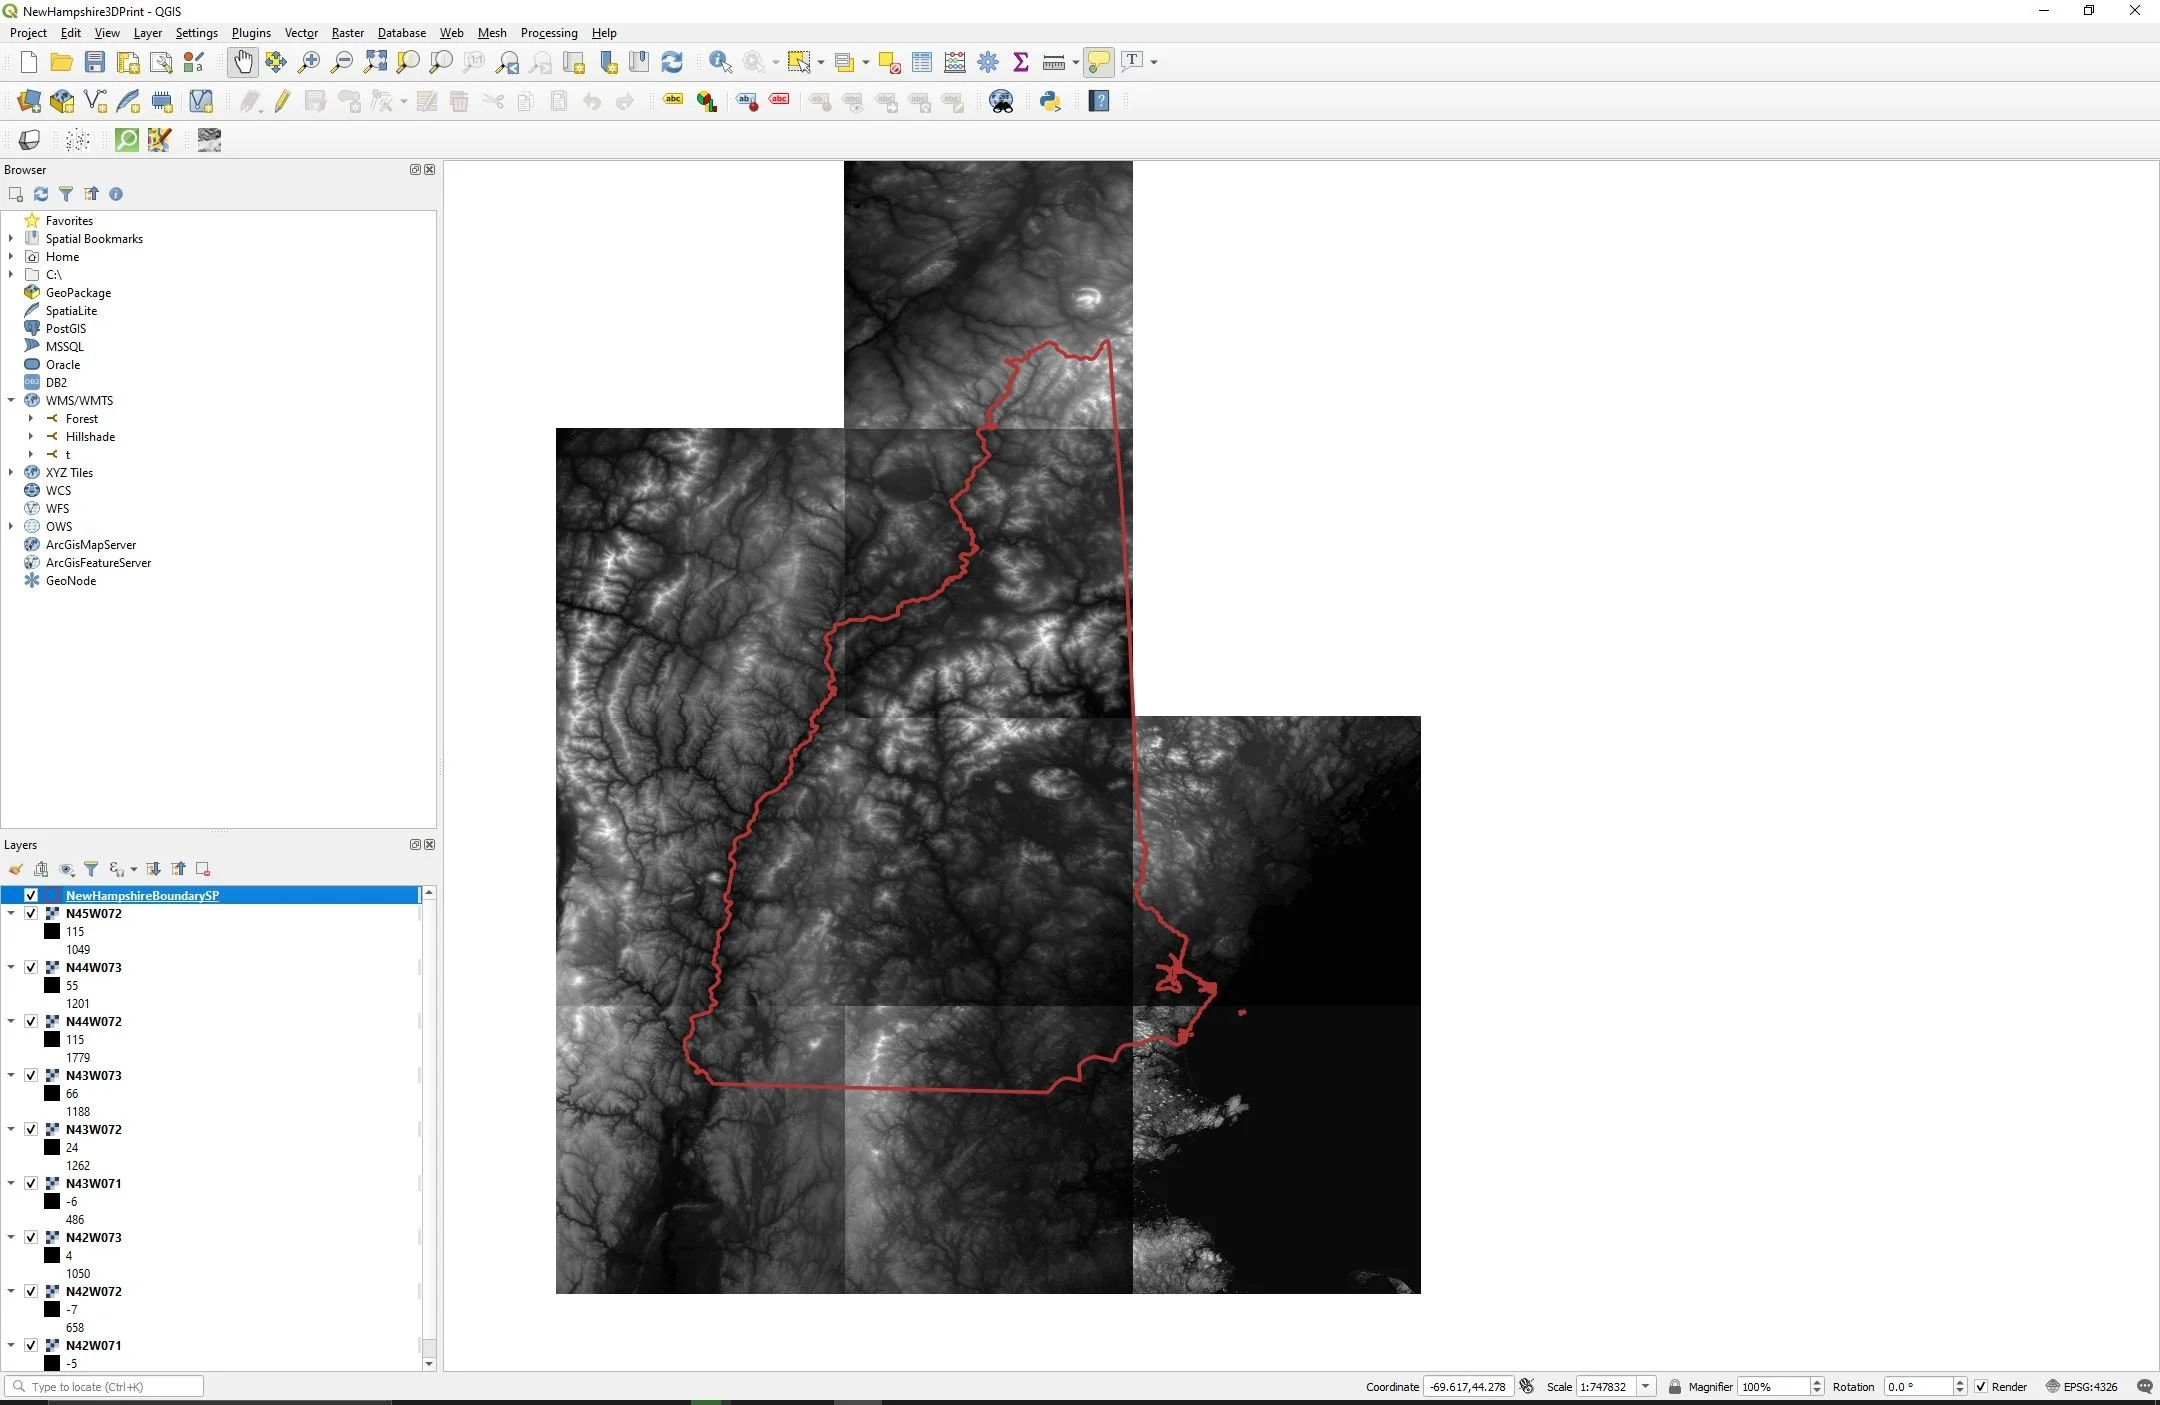
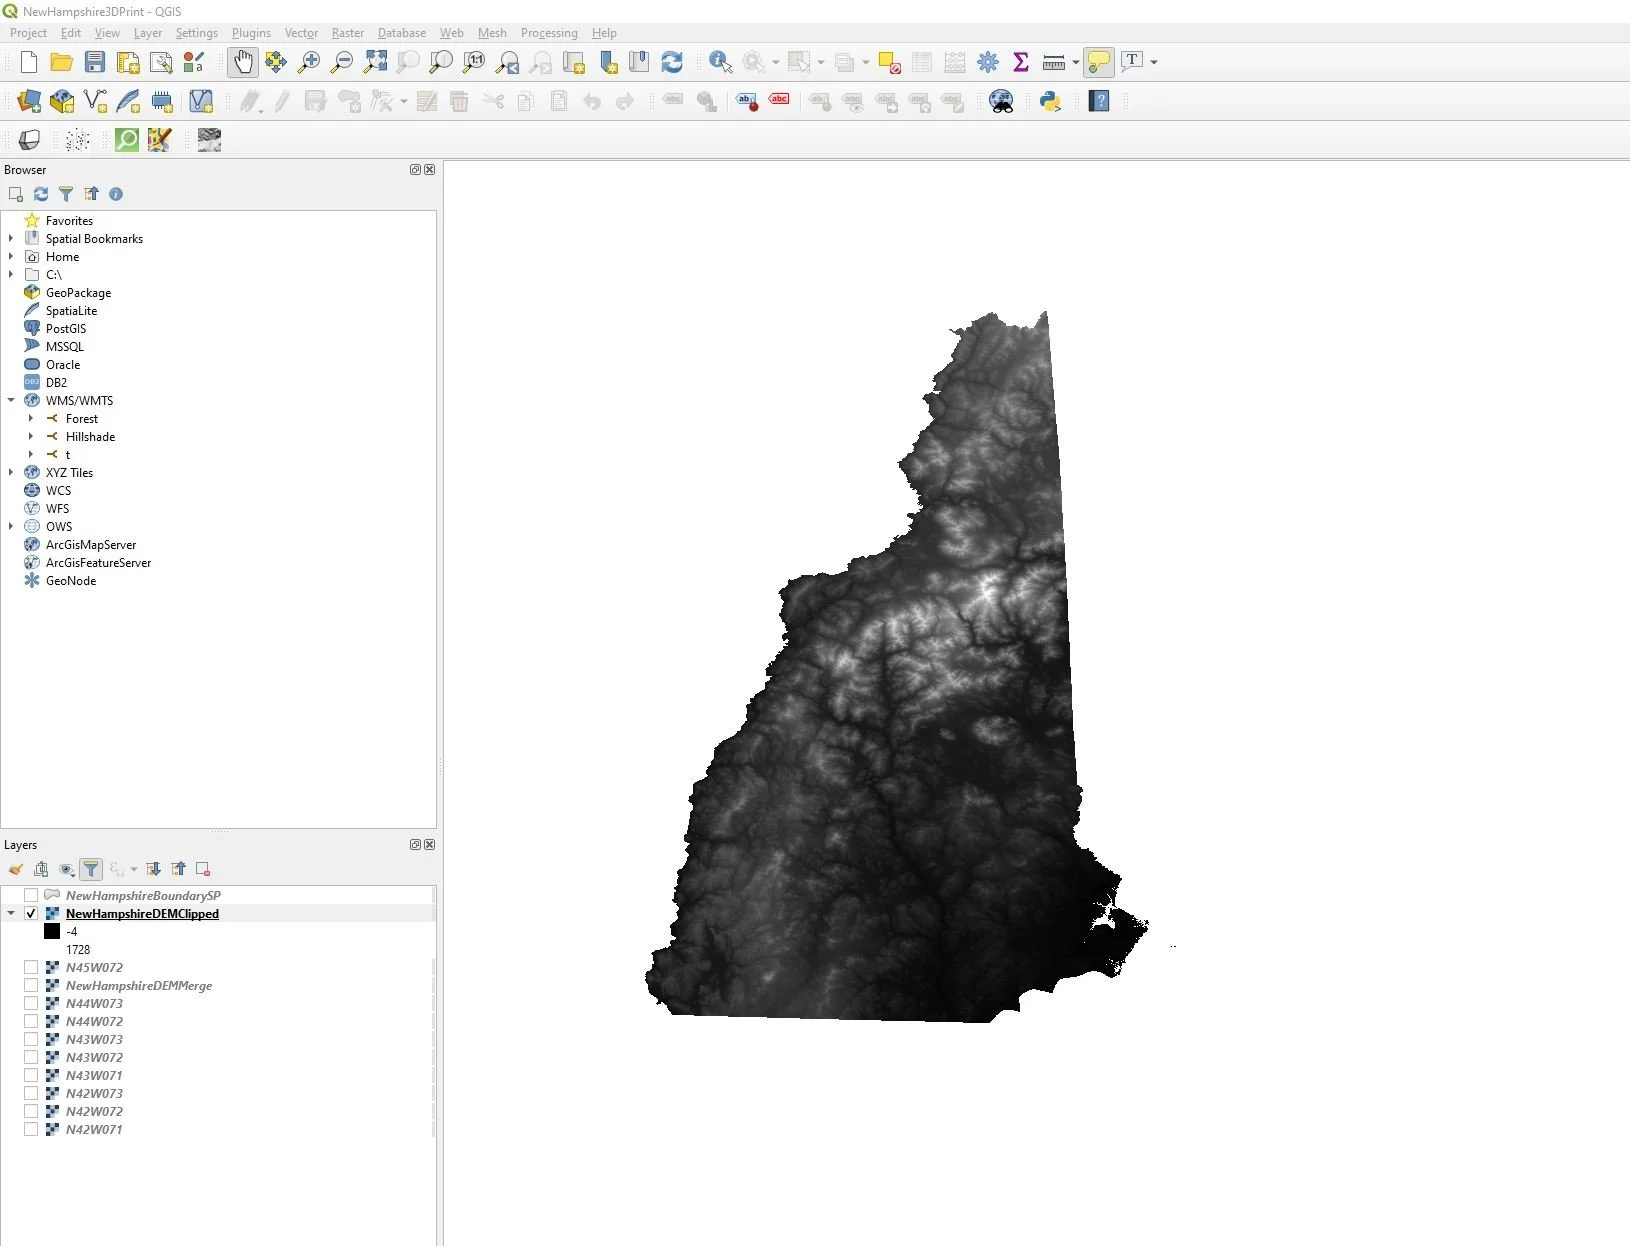
I downloaded DEM blocks that provided coverage of the State of New Hampshire and imported them into QGIS, an open source GIS mapping platform. Using the STRM dataset, I was unable to download data that was exactly aligned to New Hampshire’s boundaries, and my initial download of DEM data also included areas around the state. After merging the DEMs to form one file, I downloaded a shapefile of New Hampshire’s boundary and used that layer to clip my raster DEM layer so that it was aligned with the state’s boundaries.
DEM - Prior to Merging multiple DEMs and Clipping to New Hampshire’s boundary
Sidebar about map projections: WGS84 is a default projection coordinate system used for many web maps, but just because it is a default doesn’t mean we are stuck with accepting it. For this 3D printed map, I decided to use the New Hampshire State Plane Projection Coordinate System and reprojected my DEM. I now have a DEM that provides statewide coverage.
DEM - after merging multiple DEMs and clipping to New Hampshire’s boundary
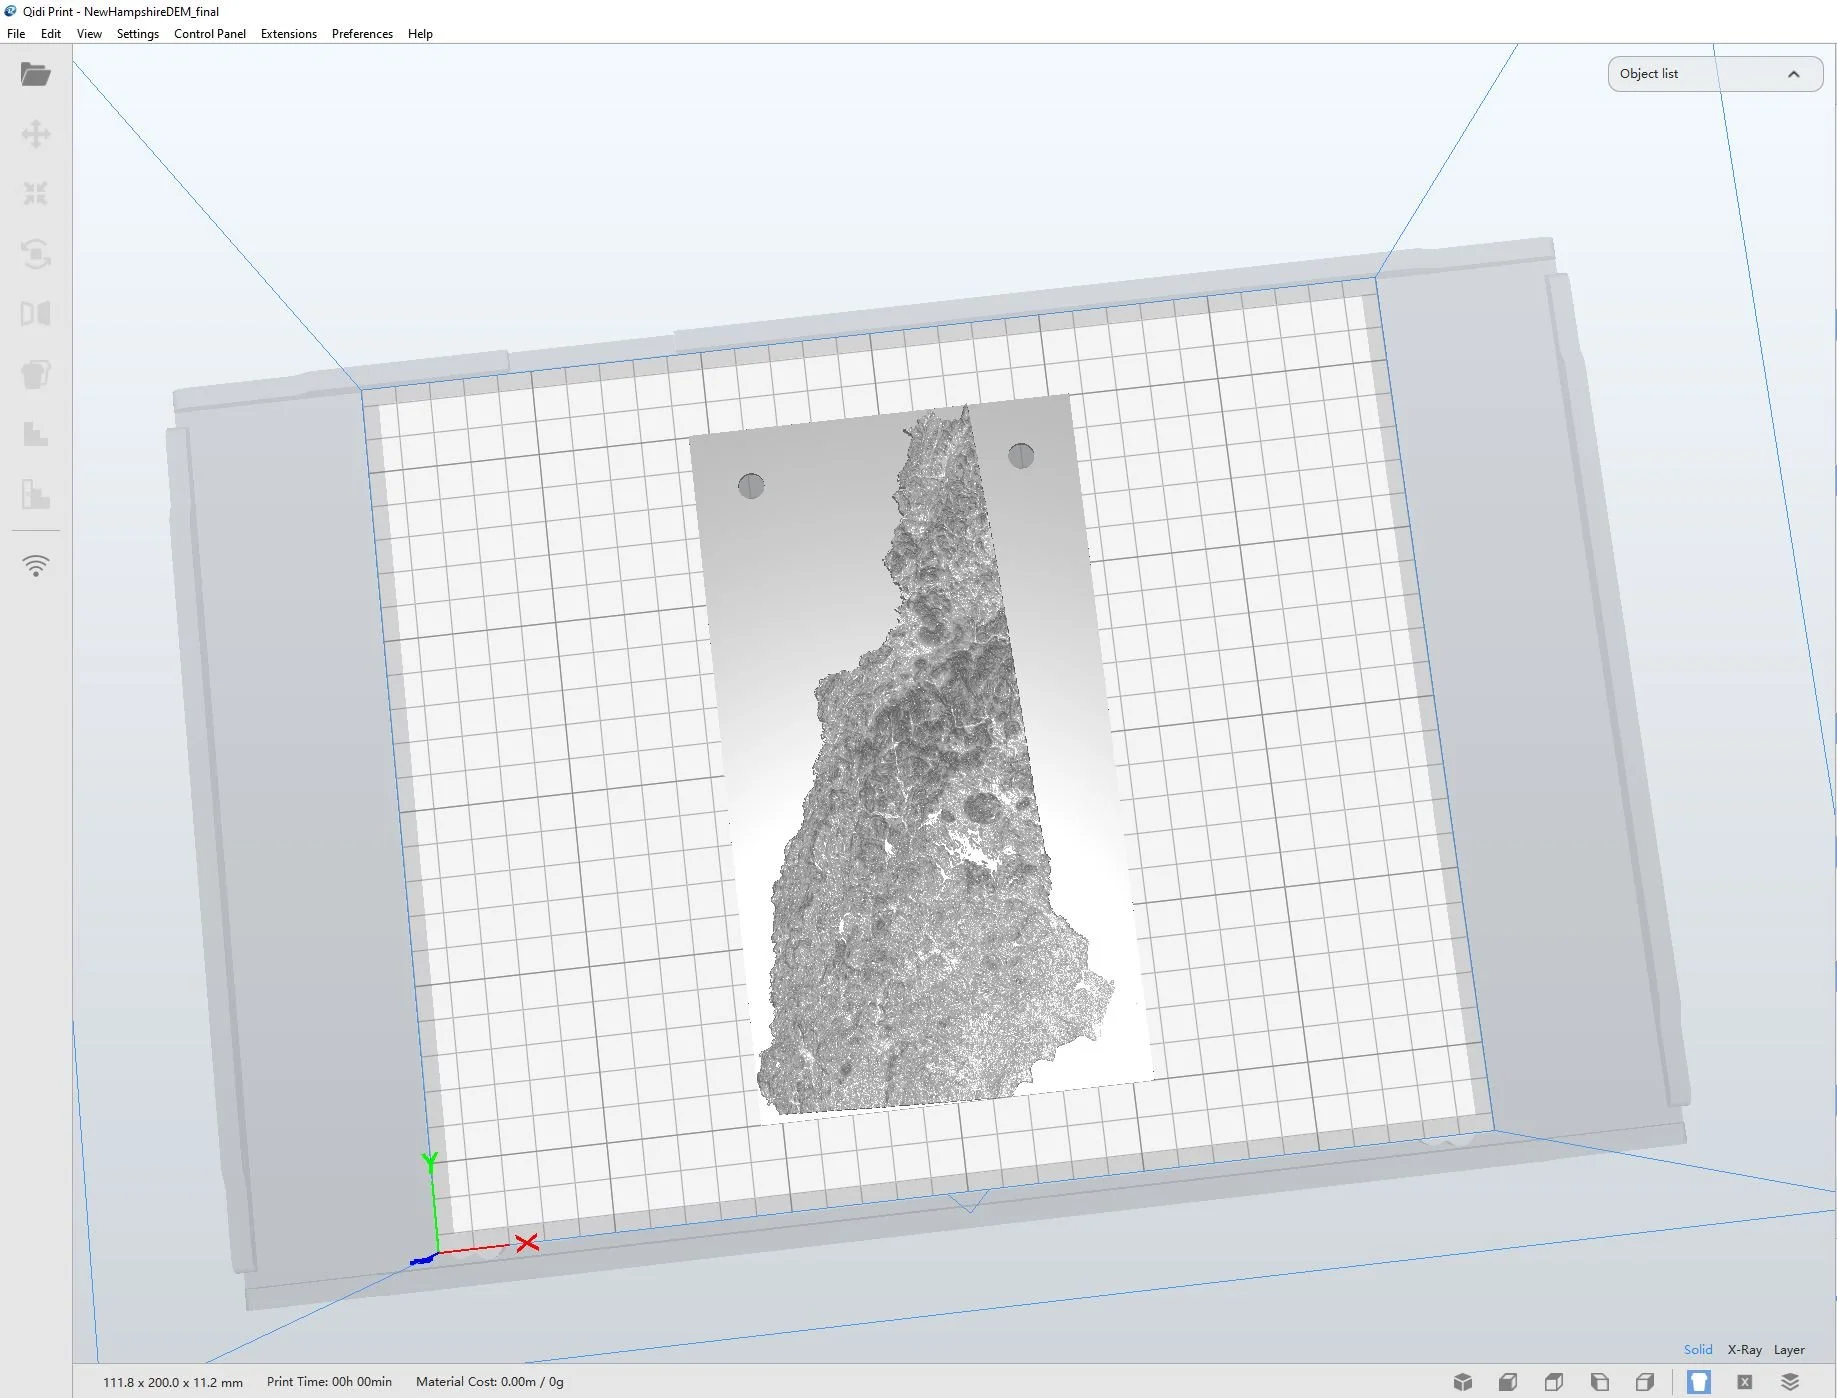
Next, I used a QGIS plugin called DEMto3D that converts DEM files into 3D Printer readable .STL files. Essentially, this plug in converts my GIS data into 3D printer compatible data, thus allowing me to make 3D topographic prints. It is a phenomenal tool that makes the process of 3D printing maps using opensource data and tools fairly straightforward.
After configuring the settings in the tool, I ended up with an .stl file version. Below is what it looks like when rendered in my 3D Printer’s software:
As of this writing, as with learning any new tool, I ran into some technical issues on the print side. I will post a photo as soon as my topographic 3D map is complete.


